For people who keep scraps
Most people who sew keep a bag of offcuts. The cloth is too good to bin and too small for a pattern in a book. Kantha starts from that bag.
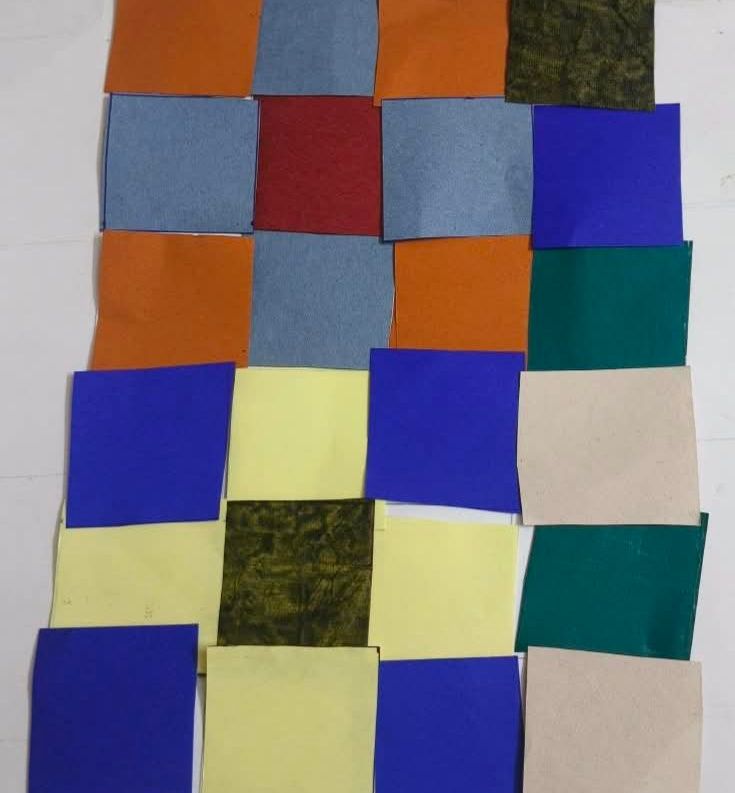
A maker photographs each kind of cloth, and the studio measures its colour and puts it in a box. The maker picks a pattern, and the studio arranges the squares to fit it. The sheet prints on A4 at 100%. Then the maker stitches.
The studio itself is free, and the cloth photos stay on the device. See how Kantha works.
It plans one panel of 35 squares. It is not a quilt planner.
Will my first one work?
Yes, if you take it in small steps.
- Try before you cut. The studio starts with a Sample box of real cloth. Try a pattern before you photograph any of your own.
- Check the size. After you print, measure one square with a ruler. It must be 4 cm. If it is smaller, the sheet was shrunk by “fit to page”. Print again at 100%.
- Cut a few trial squares. Stitch them before you start the panel (see the thread and spacing lesson below).
- It is small. A panel is 35 squares, so a first attempt does not take a large pile of cloth.
What you need for a first project
- Scraps of cotton or linen, enough for 35 squares
- Backing cloth, a little bigger than the printed sheet
- Scissors, a needle and thread
- A stiff plastic lid, to make a template
- An iron
- A printer and A4 paper. The sheet prints on A4 only. A panel is 28 cm tall at true size, so it does not fit Letter paper.
- A phone or computer with a camera. The design lives on that device. To use another device, save a backup file from the studio’s Menu and open it there.
What makes it different
Quilting patterns often assume new fabric, a rotary cutter and a sewing machine. Kantha works the other way. It uses the cloth already in the drawer, a pair of scissors and a needle.
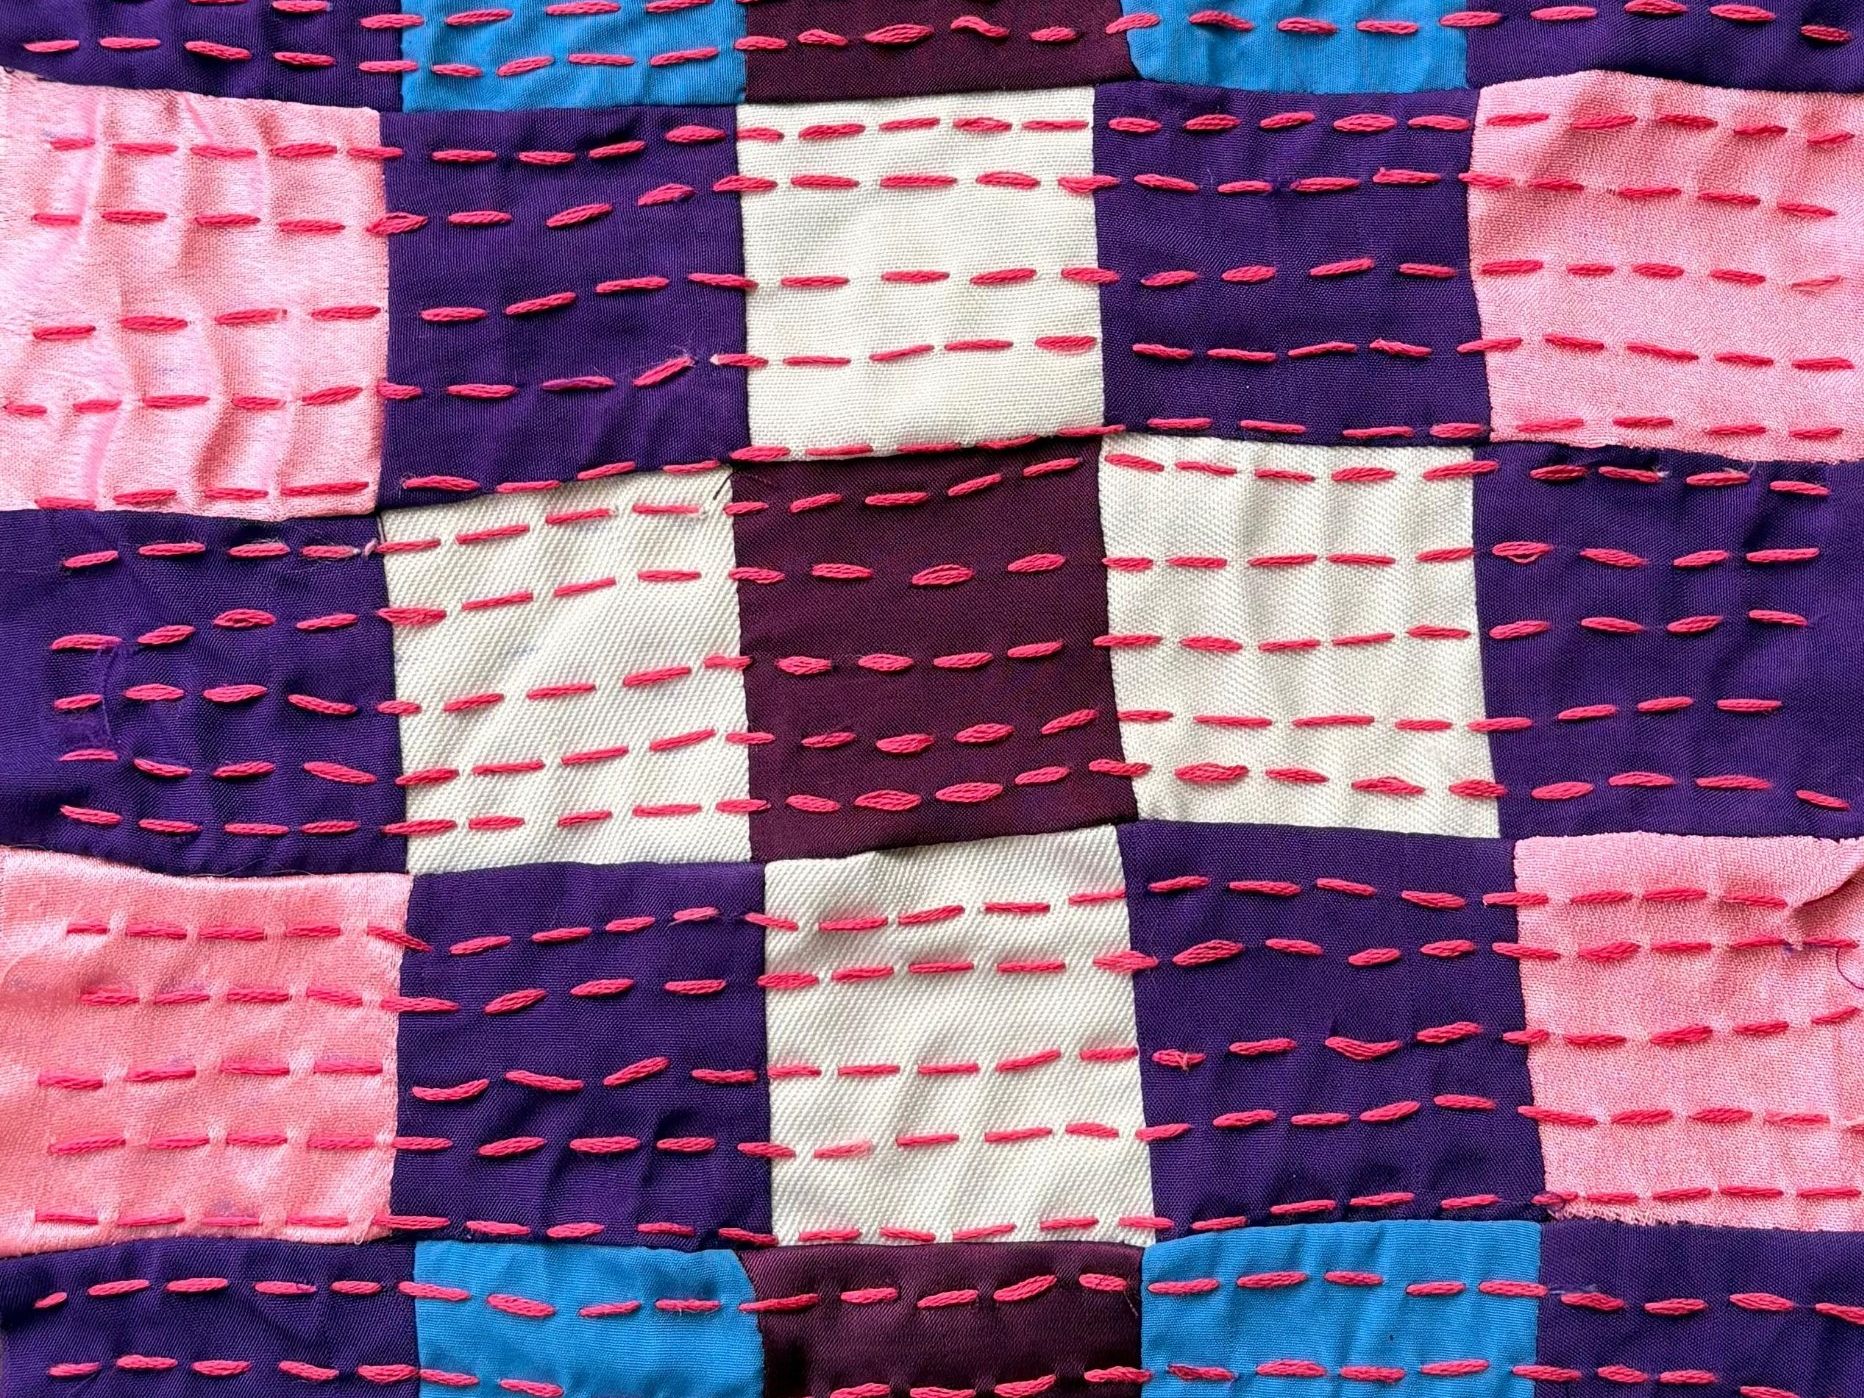
Makers cut each square 6 × 6 cm. Only 4 × 4 cm shows, because the next square covers the other 2 cm. The squares lie on a backing cloth, as in raw-edge appliqué. Rows of running stitch hold them down. Read What is appliqué? for the difference between appliqué, patchwork and kantha.
Lessons from a club that tested the steps
The Stitching Club at aikyam space, in Fort Kochi, Kerala, India, learned the method by trying it. The case study tells its story. Two of its lessons help any stitcher.
- Choose your own thread and spacing. Each maker tried a different stitch spacing and thread thickness, to compare side by side and set the club’s own standard (aikyam space, 30 September 2026 (opens in a new tab)). There is no single right answer. A few trial squares show which suits your cloth.
- Keep the thread tension even. In October the same club found tension harder at thick seams, where pulling too tight gathers the cloth.
From scraps to a panel, step by step
- Sort the scraps. Keep cotton and linen. Set aside stretchy, sheer and thick cloth.
- Make a window template from a plastic lid and cut 6 × 6 cm squares. The post on how to cut and photograph cloth squares shows how.
- Wash, dry and iron the squares.
- Photograph each kind of cloth in daylight and say how many squares you cut.
- Choose a pattern. 11 Kantha patterns for 35 squares of cloth explains each one.
- Print the sheet at 100%, lay the squares column by column on a backing cloth and stitch.
For ideas on other scrap makes, read what to do with fabric scraps. For a bargello look, try Wave and read Bargello with squares, not strips.
If you want to sell what you make
Many hobby stitchers sell a few things. Kantha does not include sales tools. The questions to ask are on the page for upcycling businesses. Start with the first two: how many hours does one panel take, and what did the cloth cost?
Where to start
Open the studio. It starts with a Sample box of real cloth, so a maker can try a pattern before photographing any scraps. The Help page shows every step with drawings.